![]()
INTRODUCTION
An image is considered as a matrix of range of values from 0 to 255 (uint8) which are called as pixels. Moreover, if you have an image of high bit depth, more color combinations are available and range of pixel values will vary. For any color image there are three channels, i.e Red, Green, and Blue. A matrix is formed for each channel and these matrix are joined to give the pixel value at each point. The value of pixel describes the brightness intensity at that point. For a black and white image only one channel exists which displays the pixel value. This particular blog is about read and write images in python. For images, our focus would be on matrix while for videos, it would be on frames. In the previous blog, there is a brief explanation of images and its types. If readers have missed it out, please do read it from the below link
A small introduction to Digital Image Processing in Computer Vision
Let us see what is to be covered in this article
Reading and Writing images in python
Reading and Writing images in Python
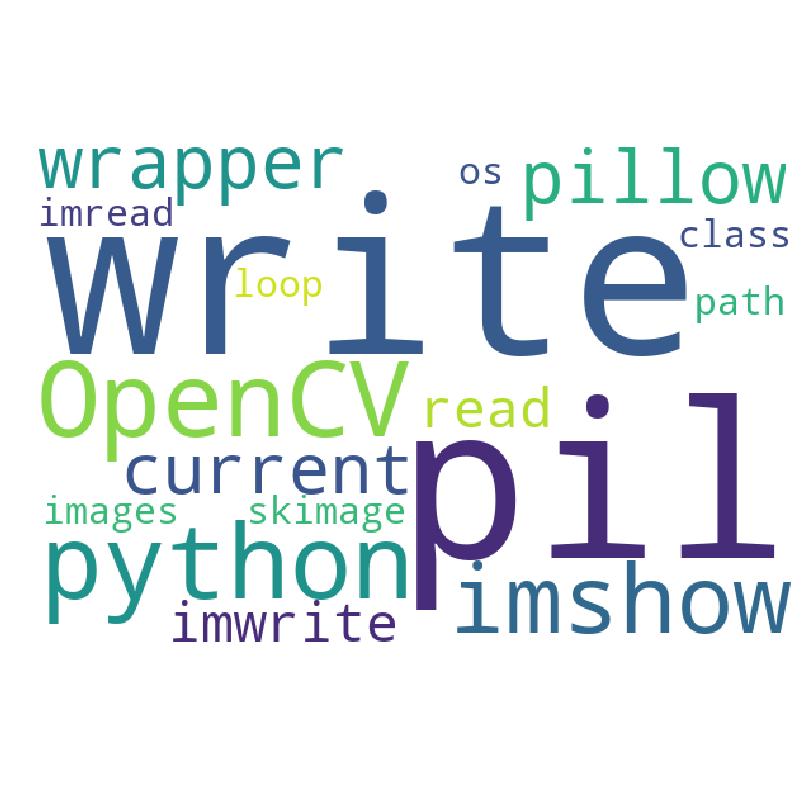
Python holds wide variety of tools and libraries to read and writing images for image processing such as OpenCV, PIL and skimage. Now let us discuss below how an image is read using different libraries of Python.
Library1: OpenCV
Library1: OpenCV is a wrapper class for C++ that can be used with Python.
- First of all an image is loaded using imread function.
- Use the function imread()to read an image. Take care you give the path of the image.
As there are different type of images, so we use a second argument which is a flag that specifies the way image should be read.
- cv2.IMREAD_COLOR: Loads a color image.
- cv2.IMREAD_GRAYSCALE: Loads image in grayscale mode.
- cv2.IMREAD_UNCHANGED: Loads image as such including alpha channel.
Before going to the code, please install this library using following command
pip install opencv-python
If you are using virtual environment or need to install and create it, please follow this link
Reading images from the folder using OpenCV
import os
# from os import path
# cv2 package is installed using pip install opencv-python
import cv2
# current path is fetched
current_path = os.getcwd()
# folder is fetched where images are located dynamically
folder = os.path.join(current_path, 'Images')

try:
    # loop us implemented to read the images one by one from the loop.
    # listdir return a list containing the names of the entries
    # in the directory.
    for filename in os.listdir(folder):
        img = cv2.imread((os.path.join(folder, filename)))

        # seperate the file as well as extenstion using the below code
        file, extention = os.path.splitext(os.path.join(folder, filename))

        # comparison for checking any text file inside the directory
        if extention=='.txt':
             raise Exception

except Exception:
        print("Caught this error:")
        print("any text file appears")
Writing images in the new folder using OpenCV
Let us see the code for writing the images which are read using the OpenCV function cv2.write. Exception handling is also implemented for displaying any text file in the images folder. This is just to show a sample how to use try and except in the code.
import os
# from os import path
# cv2 package is installed using pip install opencv-python
import cv2
# current path is fetched
current_path = os.getcwd()
# folder is fetched where images are located dynamically
folder = os.path.join(current_path, 'Images')
dirName = 'Write_Images'

# if directory does not exists it creates it else display an message that it exists

if not os.path.exists(dirName):
    os.mkdir(dirName)
    print("Directory", dirName, "Created")
else:
    print("Directory", dirName, "already exists")

choose_write_folder = os.path.join(current_path, dirName)

try:
    # loop us implemented to read the images one by one from the loop.
    # listdir return a list containing the names of the entries
    # in the directory.
    # since each image is to be saved with different name count is used for this purpose
    count = 0
    for filename in os.listdir(folder):

        img = cv2.imread((os.path.join(folder, filename)))
        # name of file which is to be written to above chosed folder
        image_name_to_write = (os.path.join(choose_write_folder,
                                            'image{}.jpg'.format(count)))

        # image file is written using cv2.imwrite function
        write_images = cv2.imwrite(image_name_to_write, img)

        # seperate the file as well as extention using the below code
        file, extention = os.path.splitext(os.path.join(folder, filename))
        # comparison for checking any text file inside the directory
        if extention=='.txt':
             raise Exception
        count = count+1
except Exception:
        print("Caught this error:")
        print("any text file appears")
Library2: PIL
PIL (Python Imaging Library): PIL is a library which supports various image operations. It is an open source applicable in different operating systems such as Window, Mac, and Linux. It can be used to pixel manipulation, image enhancement, and brightness adjustment etc. Let us see how to read and write images using PIL.
Before going to the code, let us install it using the below command
sudo apt-get install python-PIL
Code for read and write image using PIL. You can install and create virtual environment using this link.
Read and Write Images using PIL
import os
from PIL import Image
import numpy as np

current_path = os.getcwd()
# folder is fetched where images are located dynamically
folder = os.path.join(current_path, 'Images')
dirName = 'Write_Images'

# if directory does not exists it creates it else display an message that it exists

if not os.path.exists(dirName):
    os.mkdir(dirName)
    print("Directory", dirName, "Created")
else:
    print("Directory", dirName, "already exists")

choose_write_folder = os.path.join(current_path, dirName)

try:
    count = 0
    for filename in os.listdir(folder):
        # image are read using pil submodule Image
        img = Image.open((os.path.join(folder, filename)))
        im = np.array(img)

        # name of file which is to be written to above chosed folder
        image_name_to_write = (os.path.join(choose_write_folder,
                                        'image{}.jpg'.format(count)))

        # saving the image in the new folder
        img.save(image_name_to_write)

        file, extention = os.path.splitext(os.path.join(folder, filename))

        # comparison for checking any text file inside the directory
        if extention=='.txt':
             raise Exception
        count = count+1

except Exception:
        print("Caught this error:")
        print("any text file appears")
Bottom-Line
In a nutshell, it can be said that there are many libraries to read and write images in python. I have explained only two of them such as OpenCV and PIL. One can go for skimage and other modules also. Concept will nearly remain same. I have also tried to explain the concepts with the help of live codes and comments so that readers can also practice along with reading as practice of coding will make oneself more confident. Codes not only helps you to get lucrative jobs but also enhances your skills. I hope you have gained some knowledge about reading and writing images in python after reading this tutorial. Next tutorial will be very interesting as I am planning to write on playing with videos and frames so please keep in touch with us.
To read the Next tutorial, please visit the below link